
-
-
Verify that all parts shown in the picture are present.
-
-
-
Remove the existing steering damper in order to verify the mounting width.
-
-
-
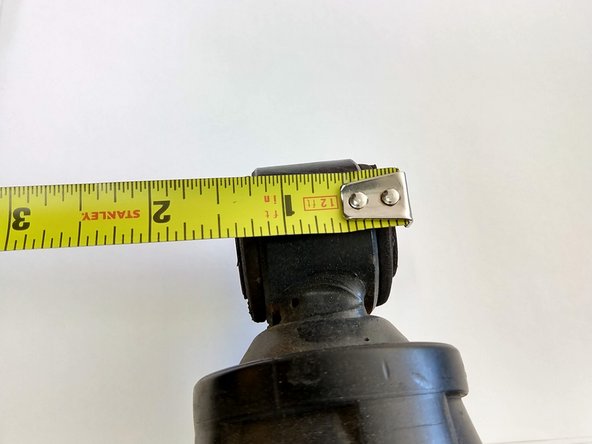
Using calipers or a tape measure, measure the width of the tie rod clamp end mounting sleeve of the steering damper.
-
For widths from 1.5 to 1.6 we generally recommend running a single washer under the head of the bolt.
-
For mounting widths under 1.5 a washer against the clamp half and under the bolt head may be required.
-
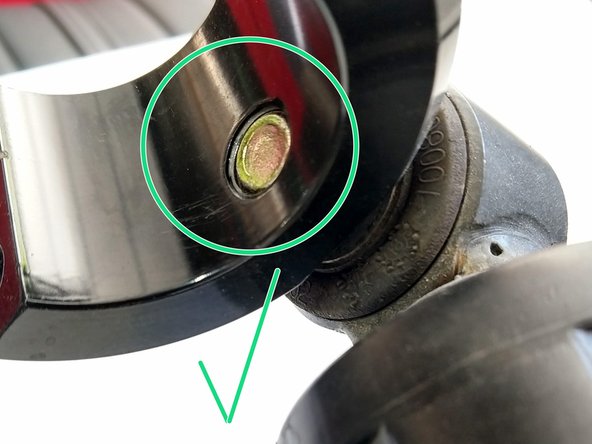
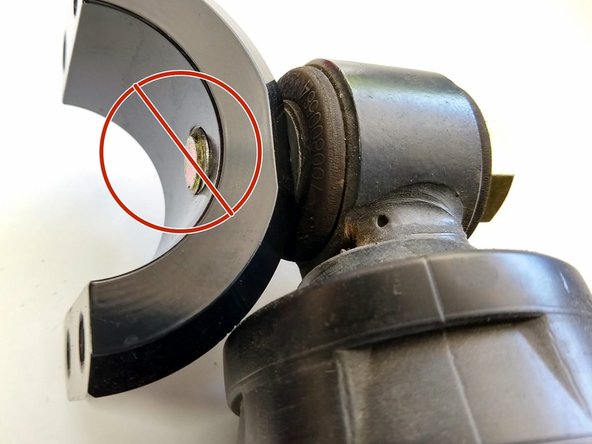
Install the washers and the bolt through the damper and the clamp half and verify that the threads are adequately engaged in the clamp half, but not protruding out beyond the mounting surface.
-
-
-
Moving to the vehicle, determine the best location for the clamp on the tie rod (or drag link depending on application).
-
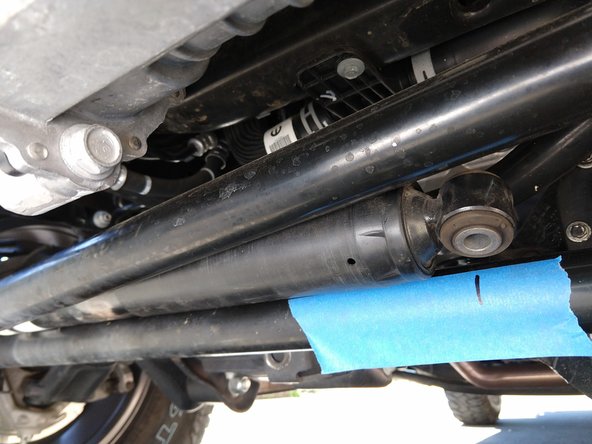
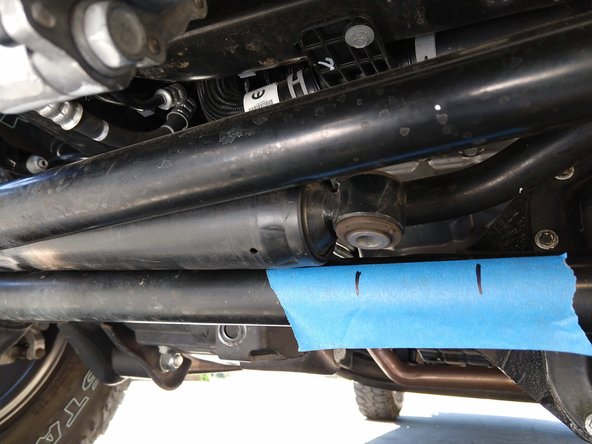
To determine the location along the tie rod, we recommend attaching the steering damper to the fixed end and fully extending it. Then, steer the vehicle all the way to the extended side.
-
Place a piece of painters tape on the tie rod, and make a mark at the approximate center of the damper mounting hole with the damper fully extended and the steering fully locked.
-
Next, fully collapse the steering damper and turn the steering to full lock in the other direction. Make another mark on the painters tape to mark the location of the damper mounting hole.
-
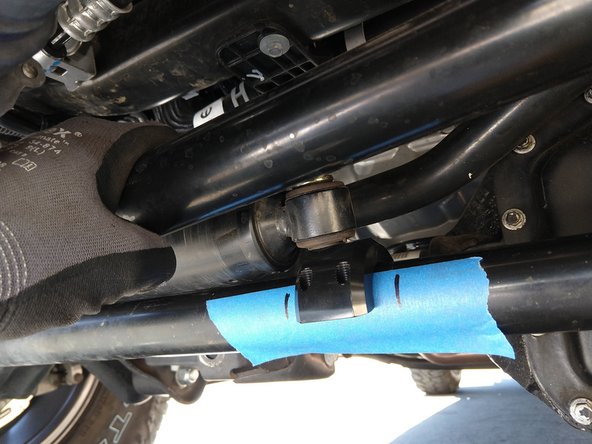
With the fully extended and collapsed locations marked, place the clamp so that the final mounting location of the damper ends up in between the two marks.
-
Remove the tape and assemble the clamp in the correct location.
-
-
-
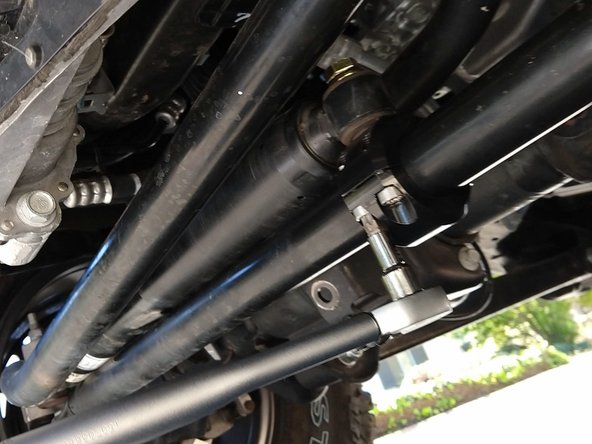
With the clamp in the correct position along the length of the tie rod, make sure the clamp is rotated into a position that prevents the damper mounting hardware from binding.
-
Torque the clamp screws to 25 lb-ft [34 Nm] with a T45 torx driver in an alternating pattern, trying to keep the gap between the halves equal.
-
Torque the steering damper bolt to 50 lb-ft [68Nm].
-
-
-
Cycle the steering to each side and check to make sure there is no interference.
-
Ideally, the vehicle should also be flexed out to make sure the damper does not contact any components as the suspension cycles.
-


![Torque the clamp screws to 25 lb-ft [34 Nm] with a T45 torx driver in an alternating pattern, trying to keep the gap between the halves equal.](https://d3t0tbmlie281e.cloudfront.net/igi/grimmoffroad/SbAiBvtSl6KMfBOU.medium)
Installation is complete!
With any modified vehicle, or any vehicle used offroad, it is a good idea to check bolt torques periodically and visually inspect components regularly.
Installation is complete!
With any modified vehicle, or any vehicle used offroad, it is a good idea to check bolt torques periodically and visually inspect components regularly.