

Introduction
This guide will walk through the correct installation procedure for Grimm OffRoad Jeep Wheel Spacer Kits.
Consumer Warning
All Grimm OffRoad products must be installed by a competent and qualified individual in accordance with the installation instructions intended for the product. Incorrectly installed products will void any warranties and may result in damage to the product or damage to the vehicle it was installed on. Read any provided instructions or guides and watch any available videos before attempting installation. If there are any questions, please contact Grimm OffRoad before starting installation.
Many products require the vehicle be properly raised and supported off the ground. The installer is responsible for confirming that this may be done in a safe manner and the correct equipment is available to perform the installation. Grimm OffRoad installation instructions assume the installer is able to properly and safely lift the vehicle.
Vehicles that have been modified will not perform the same as a stock vehicle. It is incumbent upon the owner of the vehicle to be aware of the differences the modifications will make to the driving characteristics of the vehicle. These may include (but are not limited to): changes in handling, braking, rollover angle, incompatibilities with the factory anti-lock braking systems, stability control systems, or traction control systems.
-
-
Verify that all parts shown in the picture are present.
-
-
-
Park the vehicle on a flat, level surface. Make sure the vehicle is in park or in gear, wheels are chocked, and that the parking brake is set. Raise the side of the vehicle that you will be working on and support the frame or axles with jackstands.
-
Remove wheels.
-
-
-
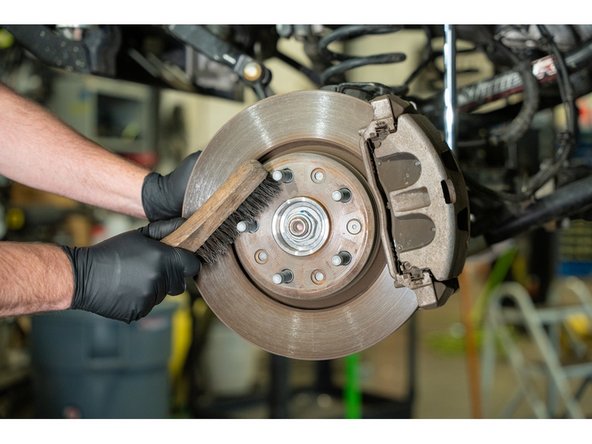
Using a wire brush or something similar, make sure the wheel mounting surface and wheel studs are cleaned thoroughly.
-
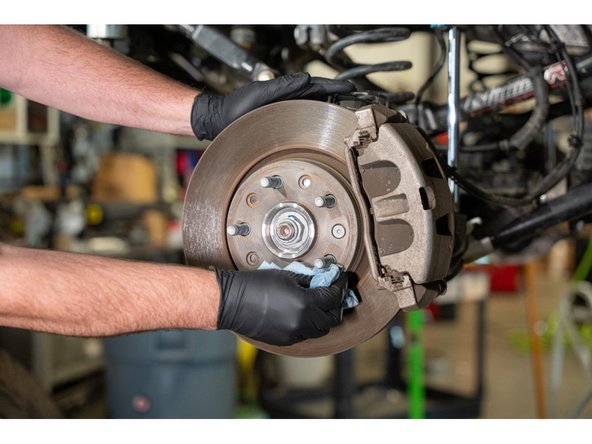
Wipe with a clean shop towel.
-
-
-
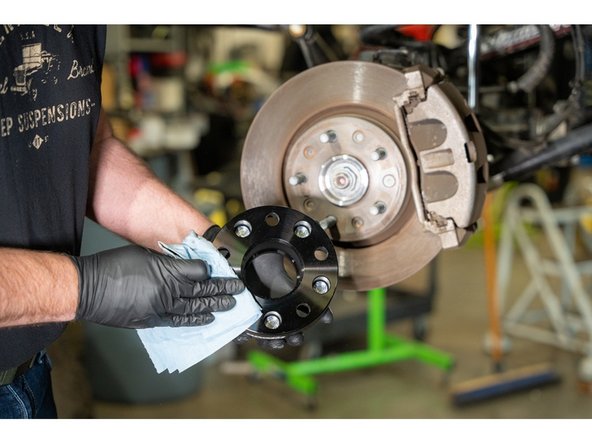
Clean the wheel spacer mounting surface with a clean shop towel.
-
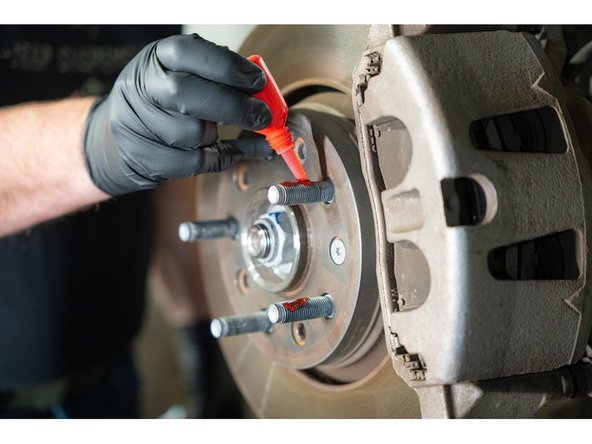
Apply the provided high strength thread locker to the wheel studs on the axle.
-
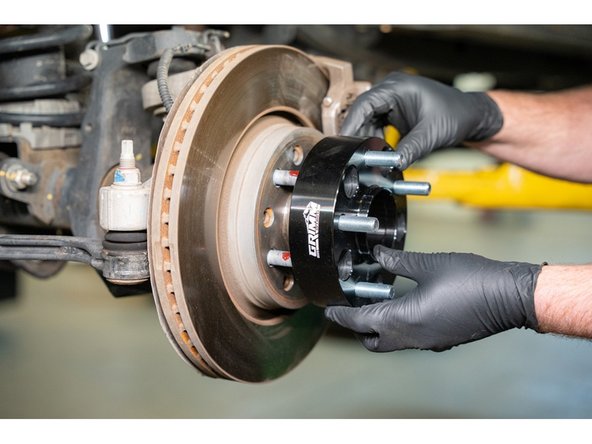
Install the wheel spacer onto the wheel studs.
-
-
-
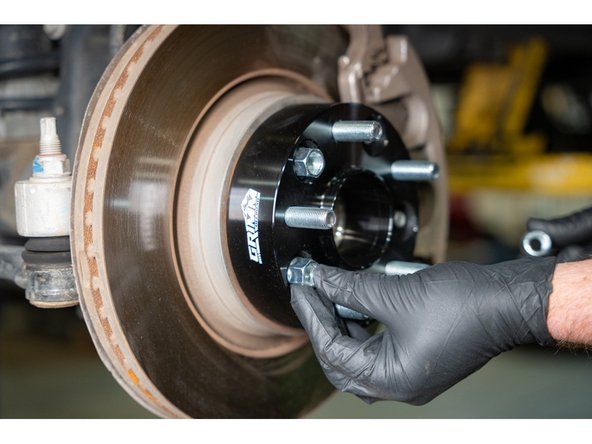
Thread on the provided lug nuts onto the wheel studs.
-
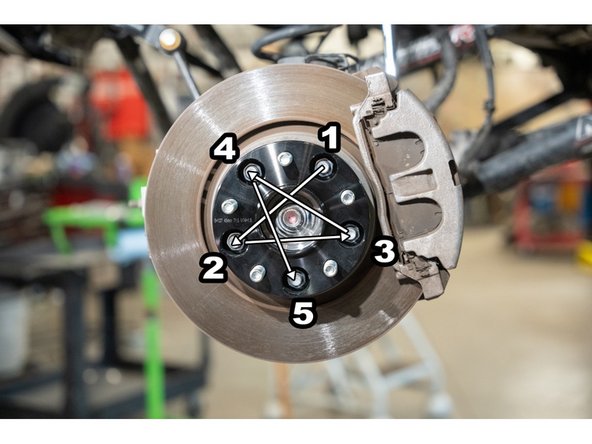
Tighten the lug nuts in a star pattern as shown to ensure even tightening. A pry bar can be used to prevent the wheel spacer from spinning.
-
Jeep JK: Torque the lug nuts to 100 lb-ft [135 N-m].
-
Jeep JL/JT: Torque the lug nuts to 130 lb-ft [176 N-m].
-
-
-
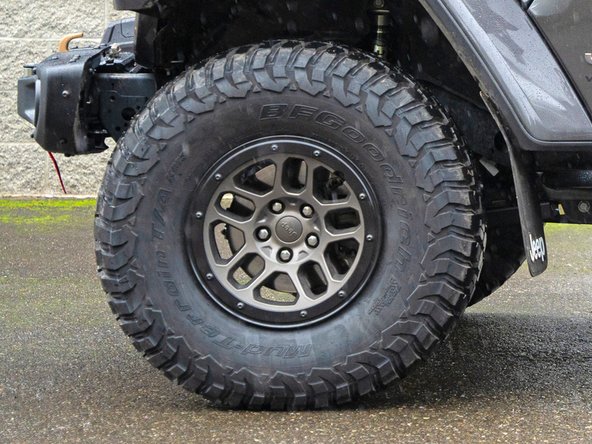
Re-install wheels and put vehicle back on the ground.
-
Tighten the lug nuts in a star pattern to ensure even tightening.
-
Jeep JK: Torque the lug nuts to 100 lb-ft [135 N-m].
-
Jeep JL/JT: Torque the lug nuts to 130 lb-ft [176 N-m].
-
Wheel spacers and wheel lug nuts should be checked for tightness after 50 miles and frequently checked for tightness, especially after off road use.
-
If thread locked wheel spacer lug nuts move when checked for tightness, they must be removed and new high strength thread locker applied before reinstalling.
-


![Jeep JK: Torque the lug nuts to 100 lb-ft [135 N-m].](https://d3t0tbmlie281e.cloudfront.net/igi/grimmoffroad/ZSOPx1eMTHN4LNts.medium)
Installation is complete!
With any modified vehicle, or any vehicle used offroad, it is a good idea to check bolt torques periodically and visually inspect components regularly.
Installation is complete!
With any modified vehicle, or any vehicle used offroad, it is a good idea to check bolt torques periodically and visually inspect components regularly.

