
-
-
Verify all parts shown in the picture are present.
-
-
-
Using a T40 torx driver remove the 4 bolts holding the cowl trim piece on the driver side.
-
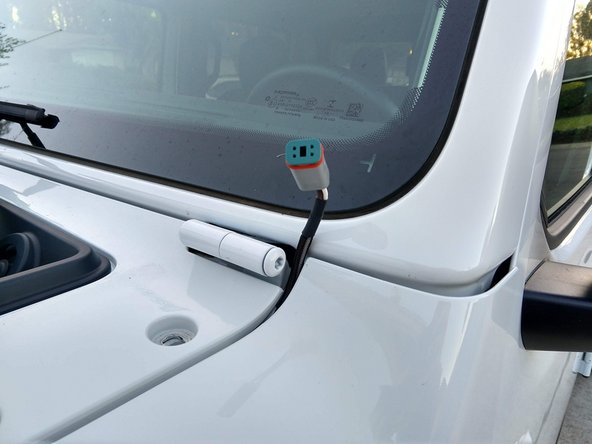
Remove the antenna using a 3/8" open end wrench.
-
Using a T40 torx driver remove the 4 bolts holding the cowl trim piece on the passenger side.
-
-
-
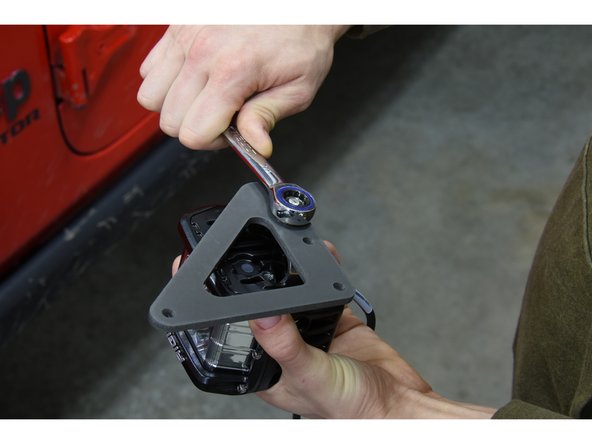
Attach the lights to the Grimm OffRoad A Pillar Light Mounts using the hardware supplied with the lights.
-
Depending on the lights being used, it may be easier to perform this step last.
-
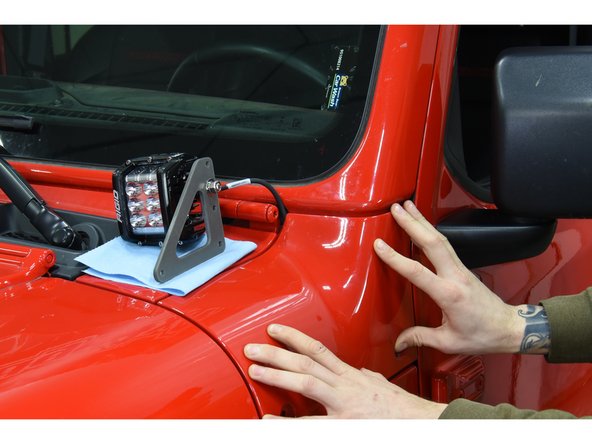
We recommend placing a soft cloth or towel over the center cowling, and then placing the lights and brackets on the center cowling while routing the wiring.
-
Depending on the light, either run the light wiring harness down in the space covered by the cowl trim piece, or up from the cowl, leaving enough of the harness exposed to connect to the light. The wiring may then be run directly into the engine bay or along the cowl.
-
Re-install the cowl trim pieces using the factory hardware on the sides but do not install the top mounting hardware yet.
-
-
-
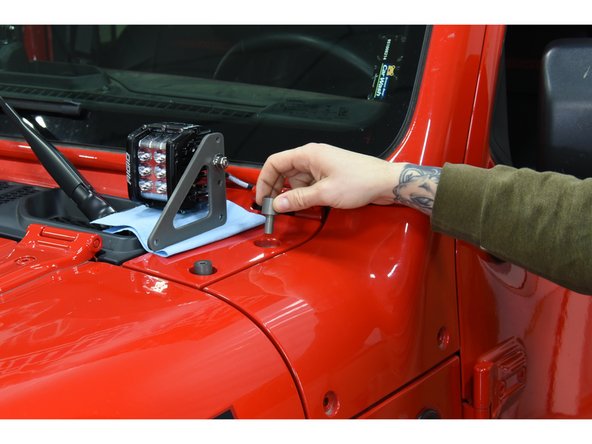
Place a Grimm Offroad Stepped Spacer into each top hole (all 4 locations on driver and passenger sides), with the smaller diameter down.
-
Mock up the lights and brackets to verify the light hardware does not protrude far enough to contact the cowl. If so, the light mounting hardware may need to be trimmed or spaced to prevent interference.
-
Best efforts were made to ensure compatibility with a wide variety of lights, but not all lights have been tested. A balance was struck between the height of the light bracket to minimize viewing obstruction and clearance for the light mounting hardware.
-
We recommend applying medium strength threadlocker to the end of the stainless bolts at this time.
-
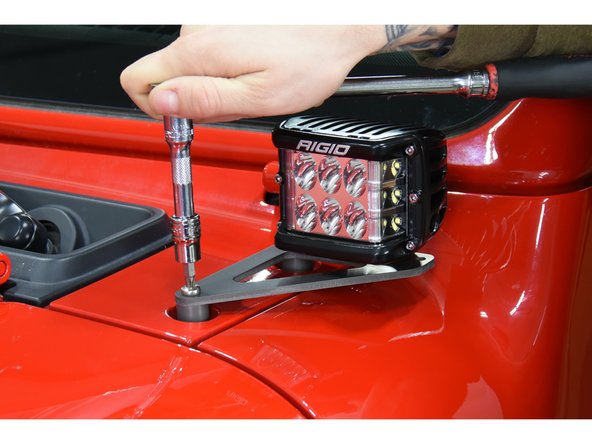
Place a Light Mount Bracket on top of the spacers, and hand thread one of the provided stainless bolts through the bracket and through a spacer. With one bolt loosely installed, thread the other stainless bolt in.
-
Make sure an appropriate amount of the light's wire harness is available when the light is in its installed position and tighten the stainless hardware with a T30 torx driver.
-
Torque all cowl trim hardware to 10 lb-ft [13 Nm].
-
Follow wiring instructions provided by the light manufacturer.
-


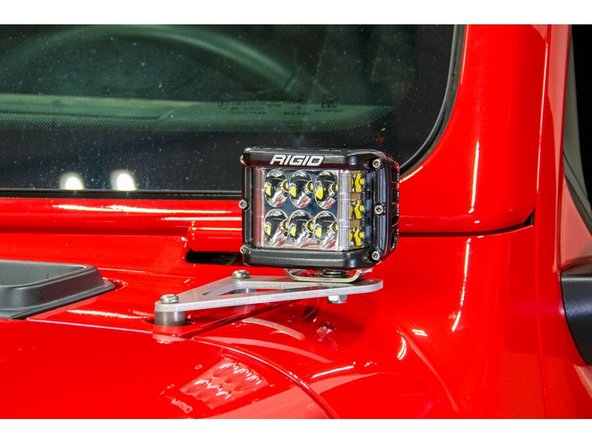
Installation is complete!
With any modified vehicle, or any vehicle used offroad, it is a good idea to check bolt torques periodically and visually inspect components regularly.
Installation is complete!
With any modified vehicle, or any vehicle used offroad, it is a good idea to check bolt torques periodically and visually inspect components regularly.