Introduction
This guide will walk through the correct installation procedure for the Grimm OffRoad 2015+ F-150 Fuel Tank Skid Plate.
Consumer Warning
All Grimm OffRoad products must be installed by a competent and qualified individual in accordance with the installation instructions intended for the product. Incorrectly installed products will void any warranties and may result in damage to the product or damage to the vehicle it was installed on. Read any provided instructions or guides and watch any available videos before attempting installation. If there are any questions, please contact Grimm OffRoad before starting installation.
Many products require the vehicle be properly raised and supported off the ground. The installer is responsible for confirming that this may be done in a safe manner and the correct equipment is available to perform the installation. Grimm OffRoad installation instructions assume the installer is able to properly and safely lift the vehicle.
Vehicles that have been modified will not perform the same as a stock vehicle. It is incumbent upon the owner of the vehicle to be aware of the differences the modifications will make to the driving characteristics of the vehicle. These may include (but are not limited to): changes in handling, braking, rollover angle, incompatibilities with the factory anti-lock braking systems, stability control systems, or traction control systems.
Notes
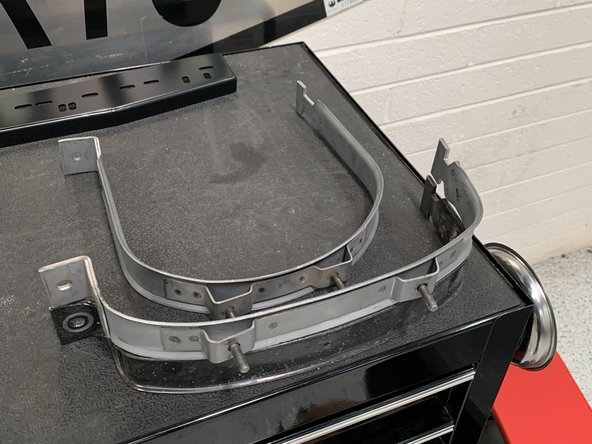
- This fuel tank skid is intended to be used with a OEM FX4 tank strap with threaded studs.
- This fuel tank skid fits 36 gallon tanks.
-
-
Verify that all parts shown in the pictures are present.
-
-
-
Verify the fuel tank straps on the vehicle. If the truck was originally equipped with the FX4 package, there should be threaded studs and/or a skid plate on the fuel tank in the location shown.
-
The fuel tank straps shown DO NOT have the threaded studs required.
-
If you need to install OE studded fuel tank straps, proceed to step 2. Otherwise proceed to step 3.
-
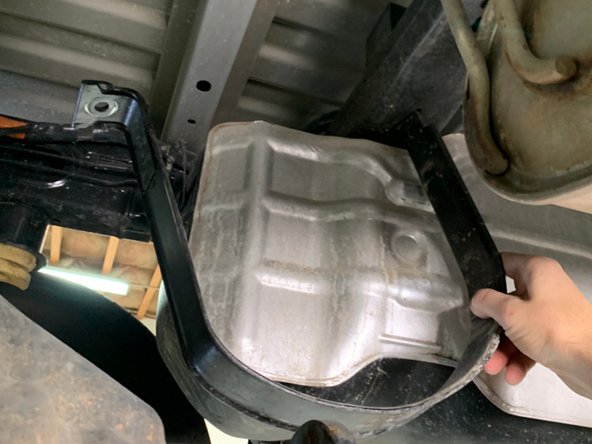
*If equipped* Using 13mm socket/wrench, remove two nuts from each tank strap followed by OE plastic skid plate.
-
-
-
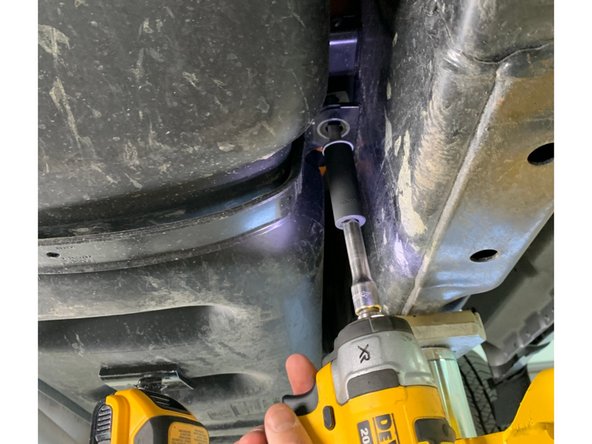
Using a jack to support the front of the fuel tank, remove the front support strap with a 15mm socket. Rotate the strap 90 degrees in the frame to disengage the other side.
-
Replace the strap with OE studded strap.
-
Re-install bolt with 15mm socket/wrench.
-
Move the jack to the rear of the tank and replace the rear strap.
-
Torque hardware to 32 lb-ft [43 Nm].
-
-
-
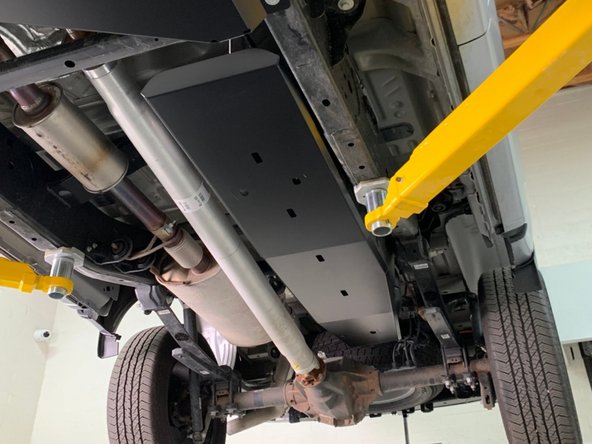
Carefully push the skid plate up over the studs on the fuel tank straps.
-
Loosely install nuts on studs.
-
Verify alignment of skid plate, ensure there is adequate clearance to the driveshaft and any other components.
-
Torque M8 hardware to 18 lb-ft [25 Nm] with a 13mm socket.
-
Installation is complete!
With any modified vehicle, or any vehicle used offroad, it is a good idea to check bolt torques periodically and visually inspect components regularly.
Installation is complete!
With any modified vehicle, or any vehicle used offroad, it is a good idea to check bolt torques periodically and visually inspect components regularly.
